Fruit Sprinkle Chocolate-Covered Oreos
July 5, 2026


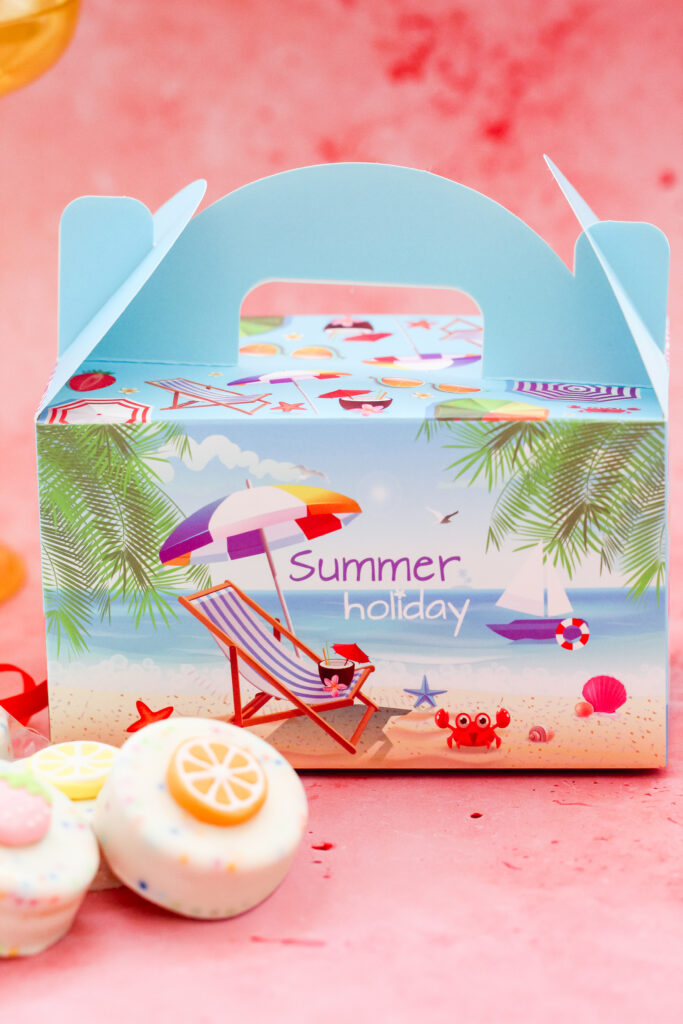
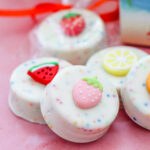
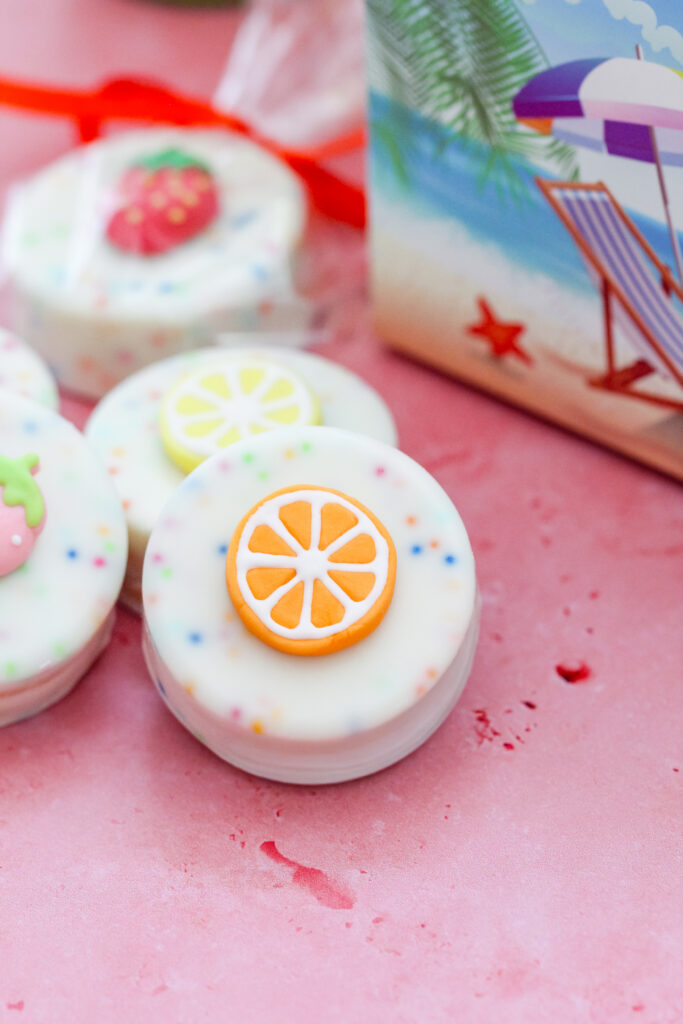
Chocolate-covered Oreos with brightly colored nonpareils mixed throughout the chocolate and fruit icing decorations on top!
There’s nothing better than sprinkle-filled chocolate-covered Oreos, so I decided to give them a fruit-tastic summer makeover. They’re colorful, crunchy, creamy, and so much fun. I used Lemon Oreos because they remind me of summer, but just about any Oreo flavor works perfectly. The fruit icing decorations on top are the finishing touch and make every Oreo look ready for a sunny summer day.

Flavor Profile
Every bite starts with a creamy shell of white chocolate loaded with crunchy nonpareils. Inside is a crisp Oreo with your choice of flavor, whether that’s bright lemon, buttery Golden Oreos, or even classic chocolate. The fruit candy on top adds a tiny pop of extra sweet crunch.
Why You’ll Love This Recipe
- Every Oreo has a thick chocolate shell with colorful sprinkles in every bite.
- Lemon Oreos add a bright summer flavor, but you can easily swap in your favorite Oreo variety.
- The fruit icing decorations give each cookie a cheerful look without needing piping skills.
- They make a standout addition to dessert trays, party favors, and summer gift boxes.
- Each Oreo looks a little different, making every batch feel colorful, fun, and one of a kind.
The Twist
Most chocolate-covered Oreos have sprinkles scattered over the outside. These mix colorful nonpareils directly into the melted white chocolate before the mold is filled. The result is a confetti-style chocolate shell with colorful sprinkles throughout every bite, finished with fruit icing decorations on top for a fun summer look.
Ingredient Highlights
- White melting wafers: Use a quality melting chocolate for a smooth, shiny finish.
- Lemon or Golden Oreos: Lemon adds a bright citrus flavor, while Golden Oreos keep things classic.
- Tropical nonpareils: These add pops of color and a light crunch throughout the chocolate shell.
- Fruit icing decorations: These edible decorations create the fun fruit theme without any decorating skills required.
Fruit Sprinkle Chocolate-Covered Oreos
Ingredients
- 1 standard Oreo mold (Spinning Leaf)
- 1 bag Ghirardelli White Melting Wafers
- Tropical-colored nonpareils
- Lemon Oreos, Golden Oreos, or your favorite Oreo flavor
- Fruit icing decorations
- Clear favor bags
- Ribbon of your choice
- Summer-themed gift box
Instructions
- Place the Oreo mold on a flat work surface.
- Melt the white chocolate according to the package directions.
- Stir in the tropical nonpareils, starting with 1 tablespoon and adding more until you like the amount of sprinkles throughout the chocolate.
- Spoon enough chocolate into each cavity to fill it about halfway.
- Gently press one Oreo into each cavity.
- Cover the Oreos with the remaining chocolate. Lightly tap the mold on the counter to help the chocolate settle into all the spaces. If needed, gently press the Oreo down with the tip of a knife and add a little more chocolate to completely cover it.
- Refrigerate until the chocolate is fully set.
- Carefully remove the Oreos from the mold.
- Melt a small amount of additional white chocolate and use it as “glue” to attach one fruit icing decoration to the top of each Oreo.
- Place each Oreo into a clear favor bag and tie it closed with ribbon.
- Arrange the wrapped Oreos inside a summer-themed gift box. Fill the remaining space with your favorite summer snacks or candy for a fun gift.
FAQ
Can I use regular chocolate Oreos?
Absolutely. Any Oreo flavor works well, so choose your favorite.
Do I have to use a mold?
A mold gives the cookies their smooth, even coating, so it’s the easiest option for this recipe.
How should I store them?
Keep them in an airtight container at room temperature for several days or refrigerate them if your kitchen is warm.
Can I make these ahead of time?
Yes. They’re a great make-ahead treat and stay fresh for several days when stored properly.
Can I change the sprinkles?
Definitely. Swap the tropical colors for any nonpareils that match your party or holiday theme.
Sprinkle of Fun
Pack these into summer gift boxes and hand them out at your neighborhood block party. If you’ve got a little one in summer camp, they make great end-of-the-season gifts!
get access to my weekly recipe updates!