Black Cat Magic Candy Bark
October 20, 2026


Swirls of purple chocolate, Halloween candy, crunchy cookies, and spooky black cats make this Halloween bark extra fun!
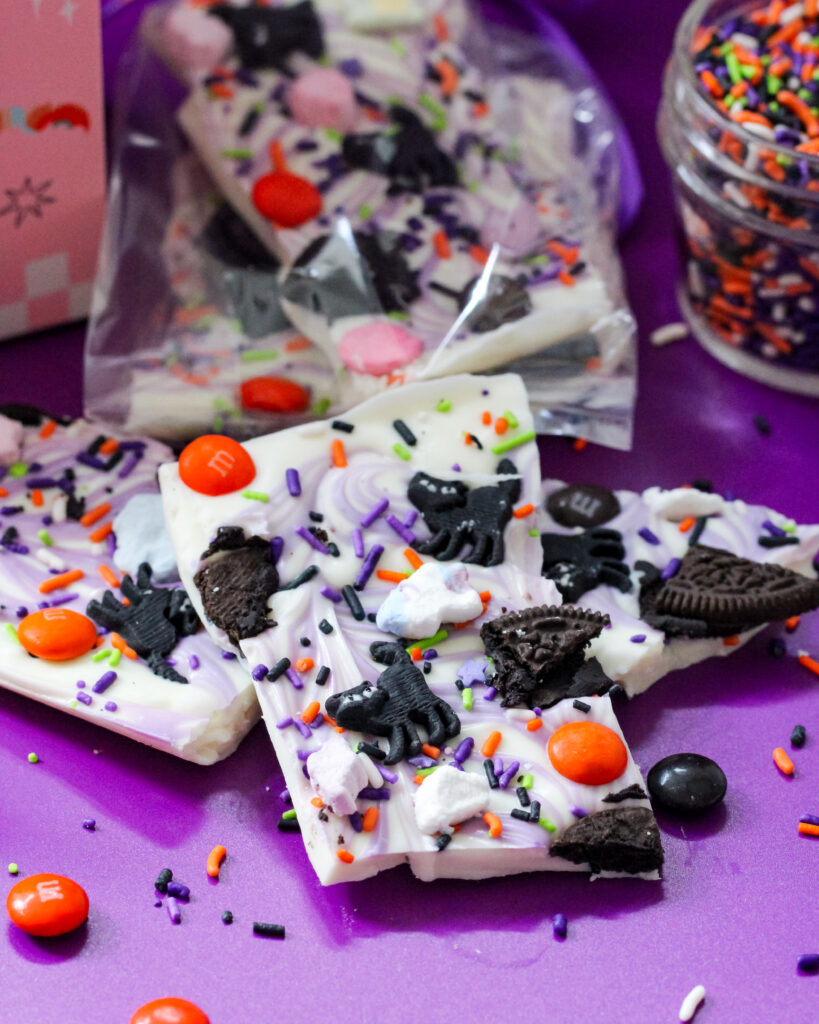
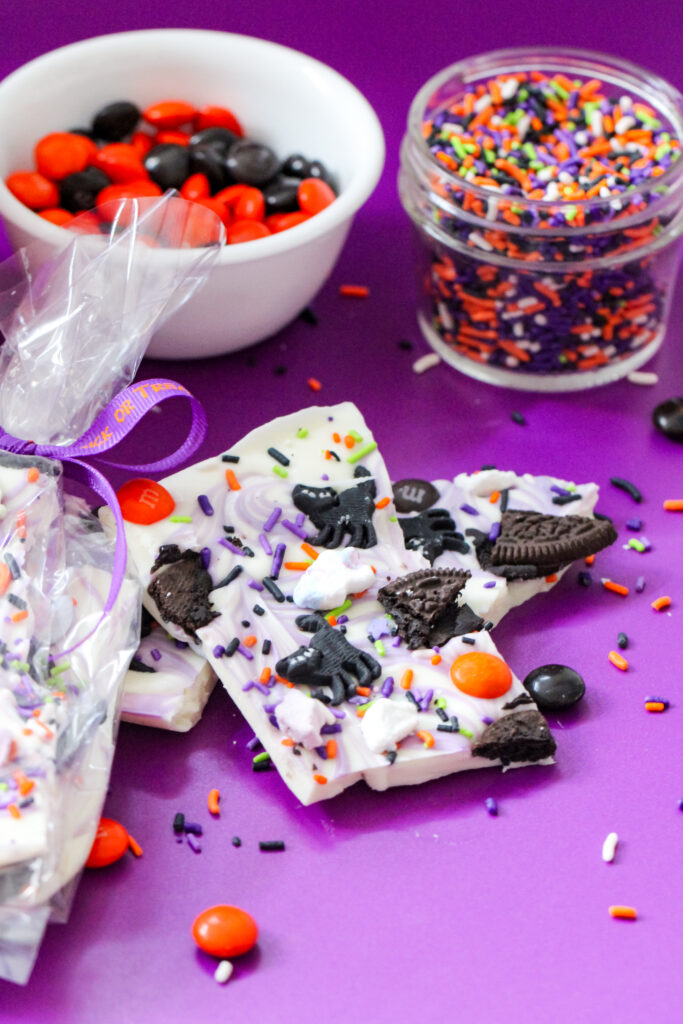
I love making chocolate bark because you can get so creative with the colors, candy, and decorations. This Black Cat Magic Candy Bark is all dressed up for Halloween with swirls of purple and white chocolate, crunchy Oreos, colorful M&M’s, Lucky Charms marshmallows, and the cutest little edible black cats.
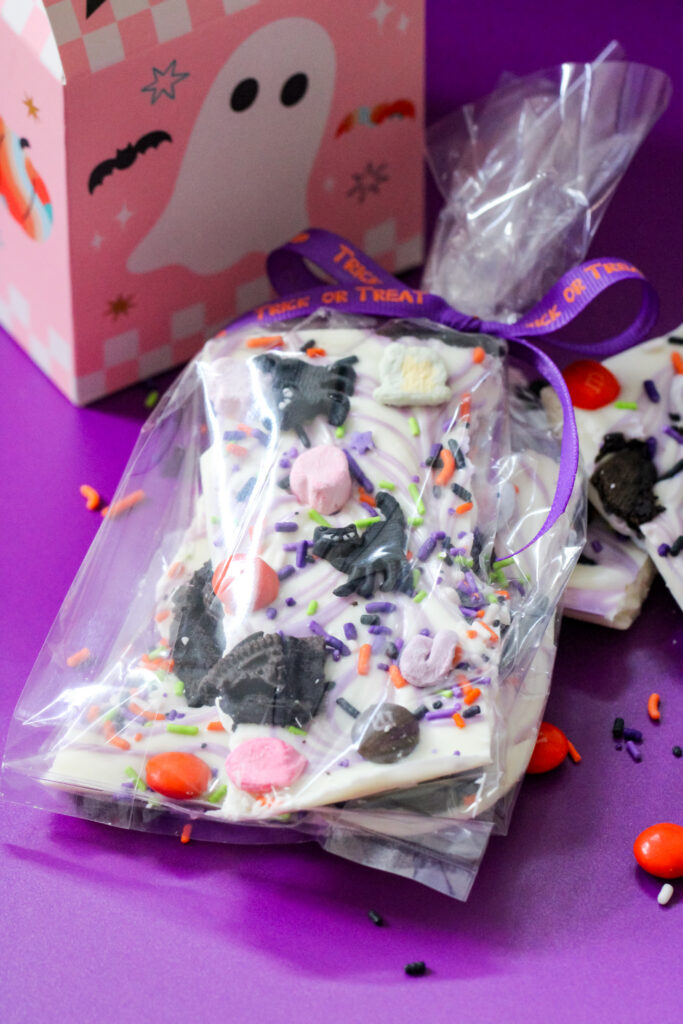
The purple marbling gives it a magical Halloween look, and all of those toppings make every piece a little different. You can break it into pieces for a dessert tray or package it into cute Halloween favor boxes. Just be careful when breaking it apart because we don’t want any headless cats!
Flavor Profile
This candy bark is sweet, creamy, and loaded with different textures. The white chocolate creates a smooth, rich base, while the Oreos add a crunchy chocolate cookie flavor. M&M’s bring even more chocolate, and the Lucky Charms marshmallows add little pops of sugary sweetness. The combination of creamy chocolate, crispy cookies, and crunchy candy makes every bite a little different.

Recipe Tips
- Use chocolate-friendly coloring. Oil-based purple food coloring works best because regular water-based gel coloring can cause melted chocolate to seize.
- Work while the chocolate is warm. Add all of your toppings before the chocolate sets so the candy, cookies, and decorations stick.
- Create gentle swirls. Drag a knife through the purple and white chocolate just a few times to create a marbled pattern without blending the colors together.
- Save the black cats for last. Place the edible icing decorations strategically so you have room to break the bark into pieces without damaging them.
- Let the bark rest before breaking. Allow the chilled chocolate to sit at room temperature for a few minutes so it’s less likely to shatter into tiny pieces.
- Make each piece different. Spread the cookies, candy, and marshmallows throughout the bark so every serving gets a fun assortment of toppings.
The Twist
The edible black cat decorations give this candy bark its own Halloween personality! Instead of scattering candy across the chocolate and calling it finished, we’re adding little black cats throughout the purple marbled bark. They turn an ordinary chocolate treat into a cute Halloween creation, especially when you break the bark into pieces with a cat on each one.
Ingredient Highlights
- Ghirardelli White Melting Wafers: These create the creamy chocolate base and melt smoothly without tempering.
- Purple food coloring: Use oil-based coloring or a product specifically designed for chocolate to create the purple marbled effect.
- Oreos: Halloween Oreos are especially fun, but Dark Chocolate or Original Oreos work too. Chop them into chunks rather than fine crumbs for extra crunch.
- Lucky Charms & Monsters Marshmallows: These limited-edition marshmallows add Halloween colors, shapes, and a little extra sweetness.
- Halloween M&M’s: Add colorful chocolate crunch and help fill in the spaces between the larger toppings.
- Edible black cats: These icing decorations are the stars of the recipe! Arrange them with a little space around each one to make breaking the bark easier.
Black Cat Magic Candy Bark
Ingredients
- 1 (16 oz) bag Ghirardelli White Melting Wafers
- Purple food coloring (oil-based or suitable for chocolate)
- Halloween sprinkles
- Halloween M&M’s
- Oreos of your choice (Halloween, Dark Chocolate, or original), roughly chopped
- 1 (3.5 oz) bag Limited Edition Lucky Charms & Monsters Marshmallows
- Edible black cat icing decorations
- Halloween favor containers or treat bags, optional
Instructions
- Line a 9-inch square baking dish with parchment paper, leaving a little extra hanging over the edges for removal.
- Melt the Ghirardelli white melting wafers according to the package directions, stirring until completely smooth.
- Transfer approximately ¼ of the melted chocolate to a separate bowl. Add a small amount of purple gel food coloring and stir until evenly colored.
- Pour the remaining white chocolate into the prepared dish and spread it into an even layer. Drizzle the purple chocolate over the top, then gently drag a knife or toothpick through the chocolate to create a marbled swirl.
- While the chocolate is still melted, decorate with Halloween sprinkles, M&M’s, chopped Oreos, Lucky Charms marshmallows, and edible black cats. Gently press larger toppings into the chocolate so they stay in place.
- Refrigerate until the chocolate is completely set.
- Remove the bark from the refrigerator and let it sit at room temperature for a few minutes. Lift it out using the parchment paper, then carefully break it into pieces. Try to break around the black cats and larger decorations to keep them intact.
- Serve on a Halloween dessert tray or package the pieces in favor boxes or treat bags.
FAQ
Can I use regular white chocolate chips instead of melting wafers?
Yes, but white chocolate chips don’t always melt as smoothly. Melting wafers are easier to work with and set nicely for candy bark.
Can I make this candy bark ahead of time?
Absolutely! Make it a few days ahead and store it in an airtight container in a cool, dry place until you’re ready to serve.
Do I have to use purple chocolate?
No! You can keep the bark completely white or experiment with other Halloween colors. Orange and green would also look great with the black cats.
Can I use different Halloween candy?
Definitely! Try chopped chocolate bars, candy-coated chocolates, or other small Halloween candies. Just avoid overloading the bark so the pieces stay together.
How should I store leftover candy bark?
Store the bark in an airtight container in a cool, dry place for up to two weeks, depending on the freshness of your toppings. If your kitchen is warm, you can refrigerate it, but condensation may affect the decorations.
Sprinkle of Fun
Put on a few episodes of Sabrina the Teenage Witch while making this candy bark! With all the purple swirls and little black cats, Salem would definitely approve.
get access to my weekly recipe updates!